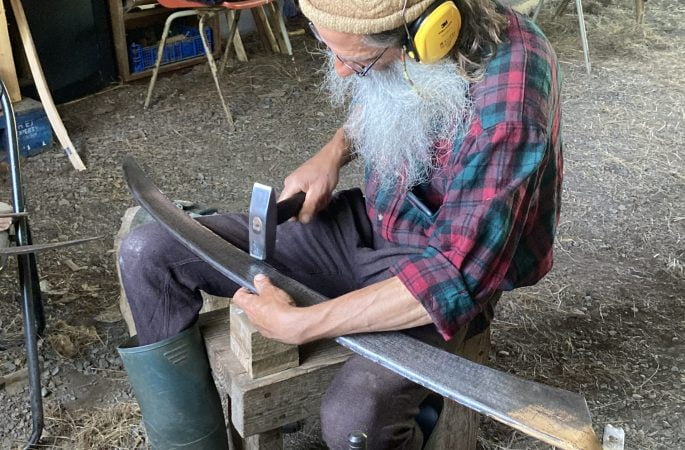
 Before you begin peening, you need to mount your peening jig or anvil.
There are many ways of doing this, from a purpose built peening bench (or peening pony) to mounting the anvil / jig in large log.
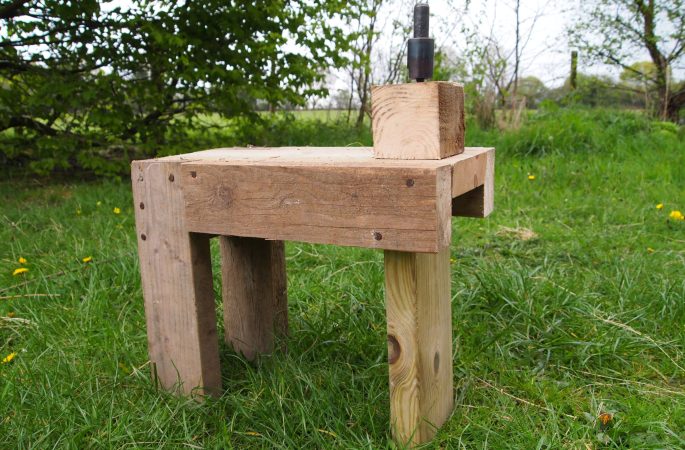
Here is how we make simple peening benches from offcuts of wood.

Simple Peening Bench Instructions
The dimensions of timber I used are listed below. These can be substituted with what you have available.
If buying new timber, the seat and front legs could be cut from a length of 6″x2″, while the back legs, side rails could be cut from a length of 4″x2″.
The size of the bench can be adjusted to your height / leg length. Ways to change measurements to suit your needs are included in the instructions.
Cutting List
Clockwise from Left – Front leg Top – Seat piece and back leg spacer Right – Back Legs x2 Center – Side Rails x 2.

Seat
6″x2″ timber. Length 20 inches
Back Legs (x2)
5″x2″ timber. I used 2 lengths of 16 inches
Spacer between back legs
6″x2″ timber. Length – 6″ (or the same as the width of the seat)
Side Rails (x2)
4″x2″ timber. I used 2 lengths of 15 inches.
Front Leg (x1)
6″x2″ timber, I used one 14 inch length.
Mounting block for anvil / jig
Offcut of 4″x4″ timber or similar
Seat
The seat length should allow the user to sit in comfort with the knees next to the peening block. I used a 20″ length of 6″x2″, taller people will require a longer seat.
Side Rails
The length of the side rail is the length of the seat minus the width of the back leg.

Legs
The height of the bench is calculated such that the user knees are level with the working surface of the anvil when seated on the bench. This means the knees can be used to support the blade whilst peening.
I wanted this bench to be 16 inches high so I cut the two back legs to a length of 16 inches. The front leg is 14 inches long – final height of bench (16 inches) minus the depth of seat ( 2 inches)

1) Attach first back leg and side rail to seat
Pre drill all holes.

2) Attach second back leg and side rail to seat.
Position the spacer block between the back legs and fix into place.

3) Position and attach front leg.
Note the front leg is NOT positioned flush with the front of the bench. It is positioned such that it will be directly beneath the anvil on the finished bench. The force of hammering is then transferred directly down the leg

4) Additional front leg fixings
Add two additional nails down through seat of bench into the front leg
6) Attach anvil / jig mounting block.
The size of this block may need to be adjusted to take into account the thickness of your leg.
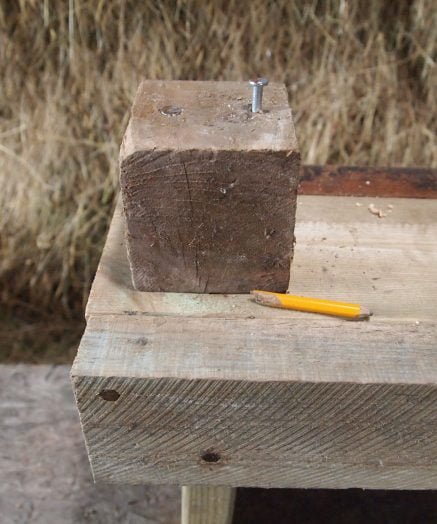
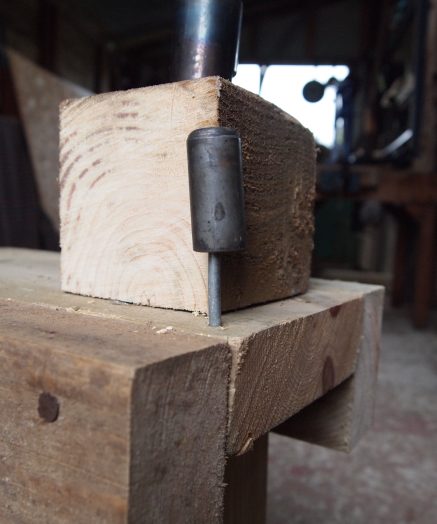
1) Drill a pilot hole into the block.
The hole should be slightly narrower then the diameter of the stem of the jig / anvil. Some jigs needs a small countersink as well, to take into account the changing dimension of the jig stem.
The stem of the jig I am using is quite narrow. A larger hole will be needed for the standard peening jigs found in the UK

 Ideally, the pilot hole for a Standard Jig would be drilled according to this diagram (click to enlarge).
Start with the largest diameter / shallowest depth hole (A) then progressively drill the narrower diameter / deeper holes (B then C).
If you do not have the drill bits to do all three holes…
…you can manage with just one 12mm full depth hole (or even a 10mm one, though the wood is more likely to split as you force the jig spike in.)
Note:
The diameter of the spike of the Fux Deluxe Peening Jig and the Peening Anvils are different from the Standard Jig and the pilot hole dimensions will need adjusting to suit.
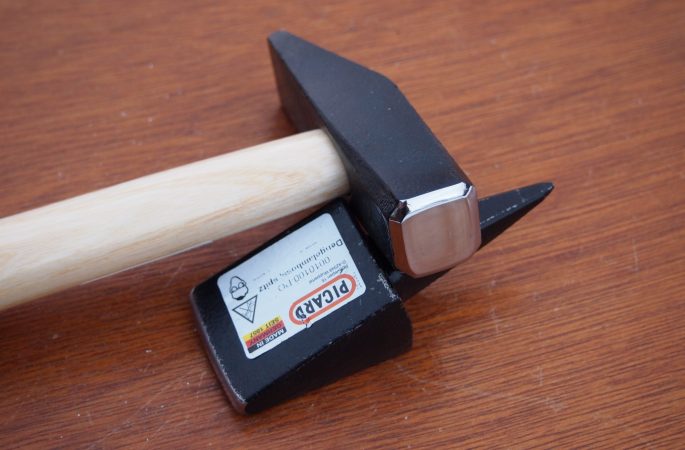
2) Gently tap the jig or anvil into the hole.
Your pilot hole should be a tight fit for the spike. Don’t try and force the jig fully in to begin with, it will “bed in” properly as you use it.
Never strike directly on the central pillar of a peening jig as this may distort it. Rest a piece of wood on the flat face or on top of the anvil / jig to protect it’s surface.
3) Add a nail to hold spare jig cap
If your bench is for use with a jig, it can be useful to hammer in an extra nail as a safe place to keep the second peening cap.
More Infomation